
2. Edit annotations and work through a folder
Continue with dogs.json from your first annotation. You'll adjust its outline, then move between two images in a practice folder.
Adjust the outline
Open dogs.json and choose Edit Shapes in the toolbar. Click the polygon to select it, then drag a point to adjust the boundary. The outline should follow the point.
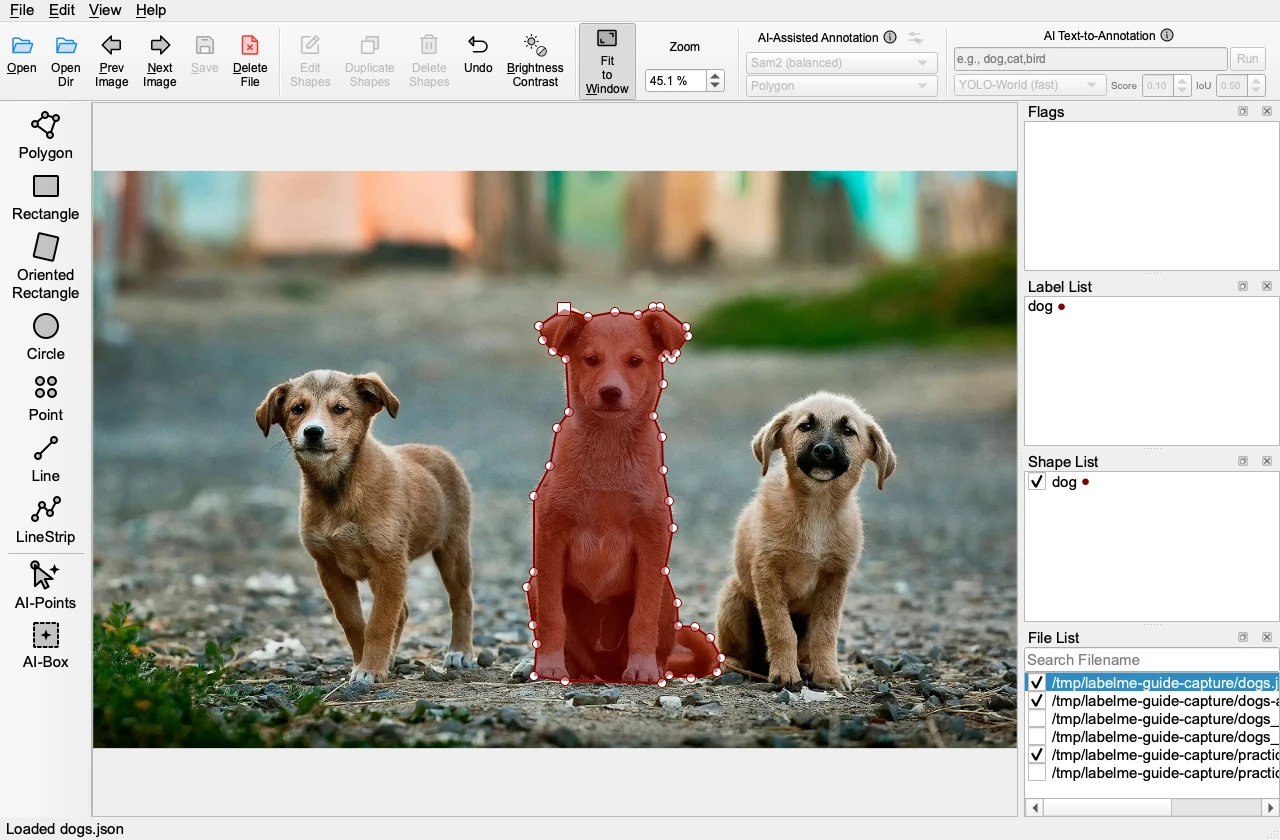
To add a point, move over an edge and Alt+click it, using Option on a Mac. To change a label, right-click the shape and choose Edit Label. To remove a shape, select it and choose Delete Shapes. If you remove the wrong shape, choose Undo.
Leave the label as dog for the next lesson. Reopen the saved JSON file and check that your changes remain. With automatic saving off, choose Save before reopening.
Open the practice folder
Download practice-images.zip and extract it into a new folder. It contains:
dogs.jpgand a saveddogs.jsonto practice editing;objects.jpg, a second image with no annotations yet.
Choose Open Dir in the toolbar and select the extracted practice-images folder. The File List should show both images. Select dogs.jpg to see its saved polygon.
Move to the next image
Choose Next Image or press D. You should now see the objects image, and the selected row in File List should change. Choose Prev Image or press A to return to the dogs.
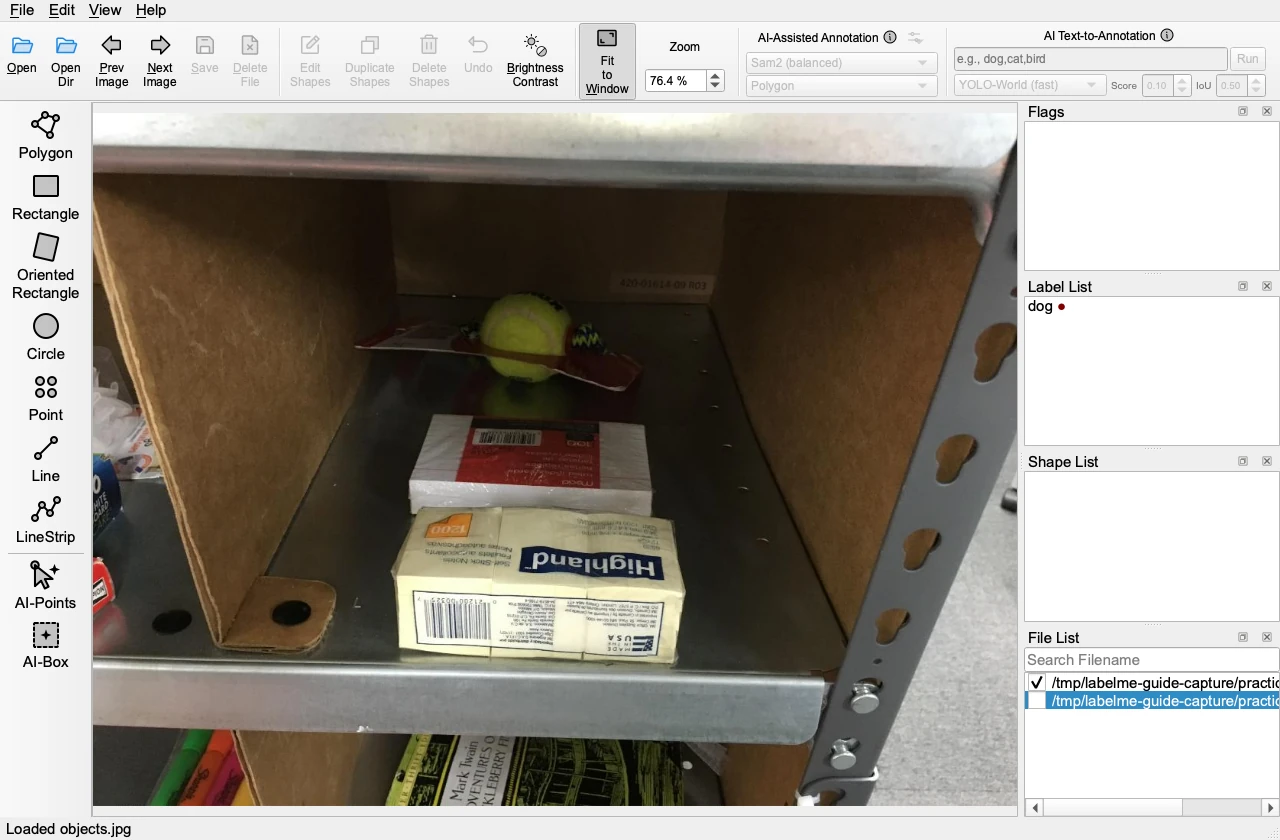
Draw and label one object in objects.jpg. Look for objects.json beside it. Return to the dogs, then back to the objects, and check that each image keeps its own annotations.
You can now repeat the process on a folder of your own images. The keyboard-shortcuts reference lists other ways to draw, edit, and navigate.
Next guide:
3. Try AI-assisted annotation