Annotation basics
Shape types overview
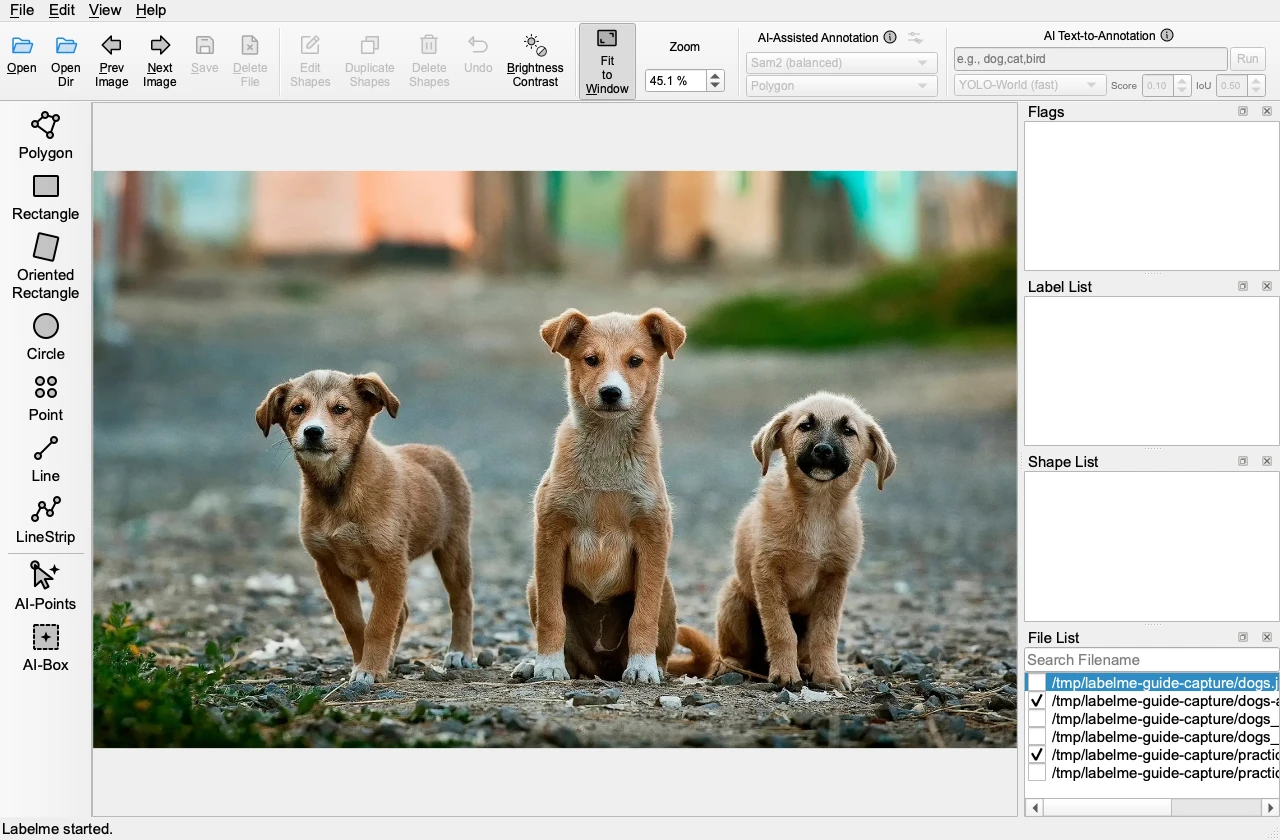
Labelme supports the following annotation shapes:
- Polygon — freeform closed region defined by click-placed vertices
- Rectangle — axis-aligned bounding box
- Oriented Rectangle — rotatable bounding box
- Circle — circular region defined by center point and edge point
- Line — open two-point line segment
- LineStrip — open multi-point polyline
- Point — single landmark point
- AI-Points / AI-Box — automatic segmentation prompted by clicks or a box; backend and output shape are configurable (see below)
How to create and finish each shape
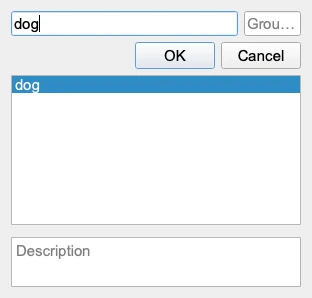
By default, after you finish any shape, a label popup appears — type or pick a label to confirm it. Canceling the popup returns the shape to the in-progress drawing state rather than committing it (for Point and the AI modes, canceling discards it outright, since there's nothing left to keep drawing).
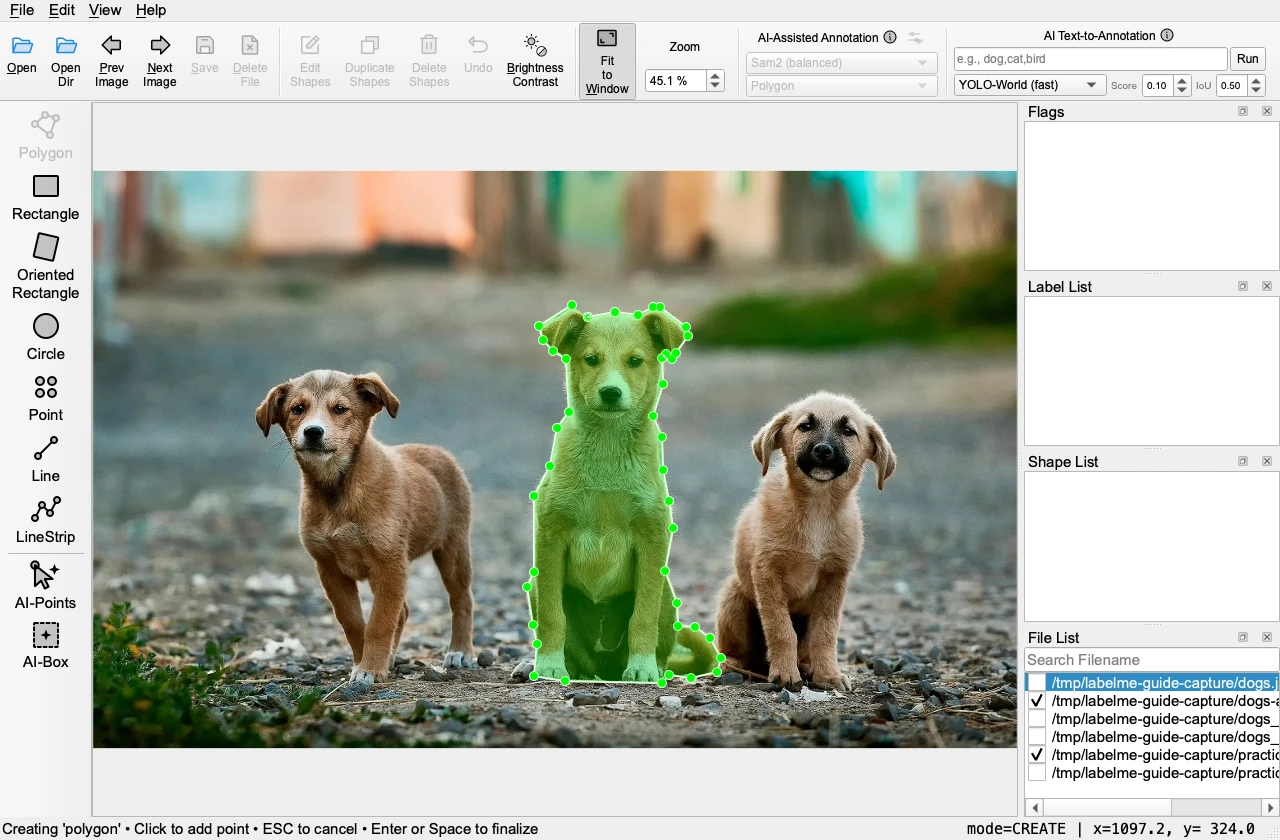
Polygon
- Switch to Polygon mode (toolbar button, or the keyboard shortcut below).
- Click to place vertices along the object border.
- Finish: click back near the first vertex, double-click the last point, or press
Enter/Spaceonce at least 3 points are placed.
Rectangle (Bounding Box)
- Switch to Rectangle mode (toolbar button, or the keyboard shortcut below).
- Click one corner of the object.
- Click the opposite corner to finish. Hold
Shiftwhile placing the second corner to constrain to a square.
Labelme stores a rectangle as the two corners in the order you clicked them — it does not normalize them to a top-left/bottom-right pair. If your workflow needs that order, compute the min/max yourself from the two points.
Oriented Rectangle
- Switch to Oriented Rectangle mode from the toolbar.
- Click the first corner.
- Click again to set the first edge's direction.
- Click a third time to set both the edge's length and the rectangle's width.
Circle
- Switch to Circle mode from the toolbar.
- Click to set the center of the circle.
- Click again to set the edge point — this defines the radius.
Line
- Switch to Line mode from the toolbar.
- Click to set the start point.
- Click to set the end point — the line is created automatically.
LineStrip (Polyline)
- Switch to LineStrip mode from the toolbar.
- Click to add vertices one by one.
- Finish: double-click the last point,
Ctrl+click, or pressEnter/Space.
Point
- Switch to Point mode from the toolbar.
- Single click anywhere on the image — the point is placed immediately.
AI-Points / AI-Box
Both modes use the AI-Assisted Annotation widget in the toolbar, where you pick a backend — Sam2 (balanced) by default, with Sam2 and Sam also selectable in speed/balanced/accuracy variants and EfficientSam in speed/accuracy variants; Sam3 is available for AI-Box only, not for point prompts — and an output shape (polygon, mask, rectangle, oriented rectangle, or circle). The chosen model's weights download once on first use.
AI-Points:
- Switch to AI-Points mode from the toolbar.
- Click inside the object to add a positive point;
Shift+click to add a negative point. - Press
Enter/SpaceorCtrl+click to accept.
AI-Box:
- Switch to AI-Box mode from the toolbar.
- Click one corner, then click the opposite corner, to segment the boxed object.
Edit mode vs Create mode
Labelme has two main interaction modes:
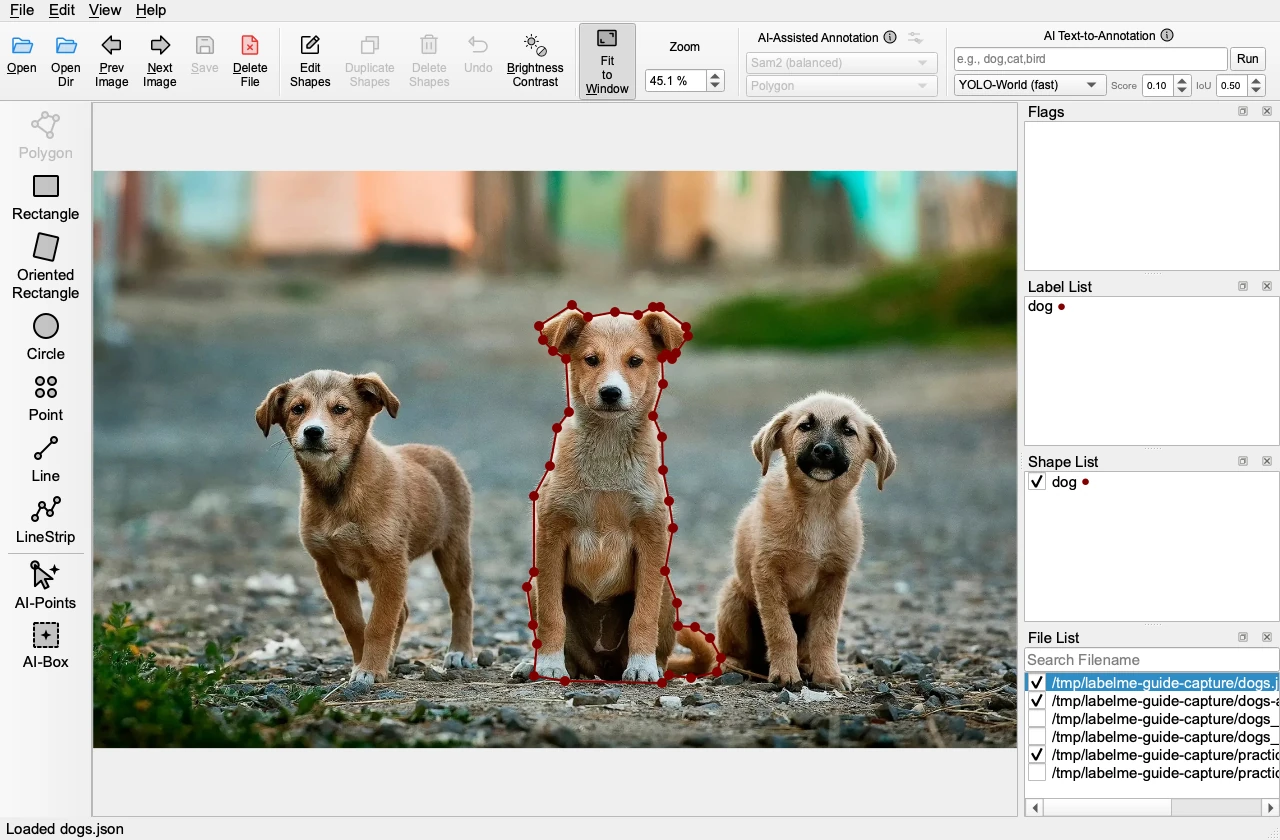
- Edit mode — select, move, resize, and delete existing shapes.
- Create mode — draw new shapes.
Switching modes:
- Press
Ctrl+J, or use a toolbar button, to enter Edit mode. - Pick any shape tool (toolbar button, or the keyboard shortcut below where one exists) to enter Create mode for that shape.
- While drawing,
Escapecancels the shape in progress — it does not switch modes on its own.
In Edit mode you can:
- Click a shape to select it (its outline turns white).
- Drag a shape to move it.
- Drag a vertex to reposition it.
- Press
Deleteto remove the selected shape(s) (asks for confirmation).
Common keyboard shortcuts
D— Next imageA— Previous imageCtrl+S— Save annotation (Labelme also auto-saves by default)Ctrl+Z— Undo last action (removes the last placed point while a shape is being drawn)Delete— Delete selected shape(s)Ctrl+N— Create Polygon modeCtrl+R— Create Rectangle modeCtrl+J— Edit modeEnter/Space— Finish the current shape, once it has enough pointsEscape— Cancel the shape being drawn
Oriented rectangle, circle, line, linestrip, point, AI-Points, and AI-Box have no default shortcut — use the toolbar button.
AI annotation quick start
Besides the click/box prompts above, Labelme can also annotate from a text description, via Sam3 or YOLO-World.
SAM3 / YOLO-World — text-to-annotation
Instead of clicking, you can type what you want annotated.
- Pick Polygon, Rectangle, AI-Points, or AI-Box mode to enable the AI Text-to-Annotation field in the toolbar — the field is enabled in all four, but which of them actually produce a shape depends on the model you pick next.
- Pick a model: YOLO-World (fast) (the default) only returns bounding boxes, so it errors unless the output resolves to rectangle, circle, or oriented rectangle (all buildable from a box) — polygon or mask output shows a "Mask Output Unavailable" error. SAM3 (smart) supports every output shape, including polygon and mask, but only uses the first comma-separated term you type — YOLO-World matches every term.
- Type your prompt(s), e.g.
dog,red car(no space after the comma — it becomes part of the label), and submit. - Labelme creates a shape around each match — edit or undo the result.
These AI models run locally and offline, once their weights are downloaded on first use — your images never leave your computer.
Next guide:
1. Annotate image with Labelme