
1. Annotate your first image
Outline the middle dog in our sample image, label it, and save the annotation. You'll reopen the saved file to check your work.
These guides and sample files are public. To follow along, install the app with your trial or license. You can also use the open-source installation. The screenshots show Labelme 7.6 on macOS. The same drawing steps work on Windows and Linux.
Select any screenshot to view it at full size.
Open the sample image
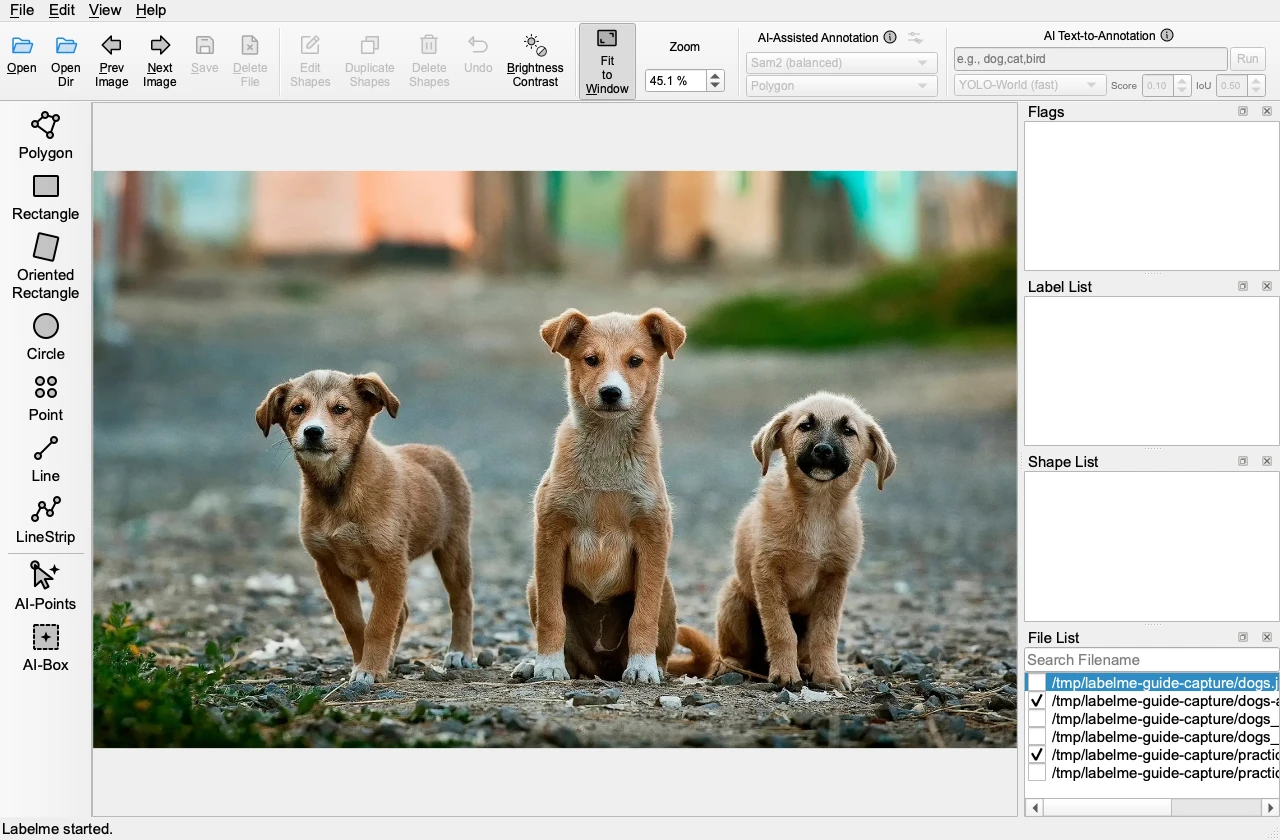
Download dogs.jpg into a new folder. Open Labelme, choose Open, and select dogs.jpg.
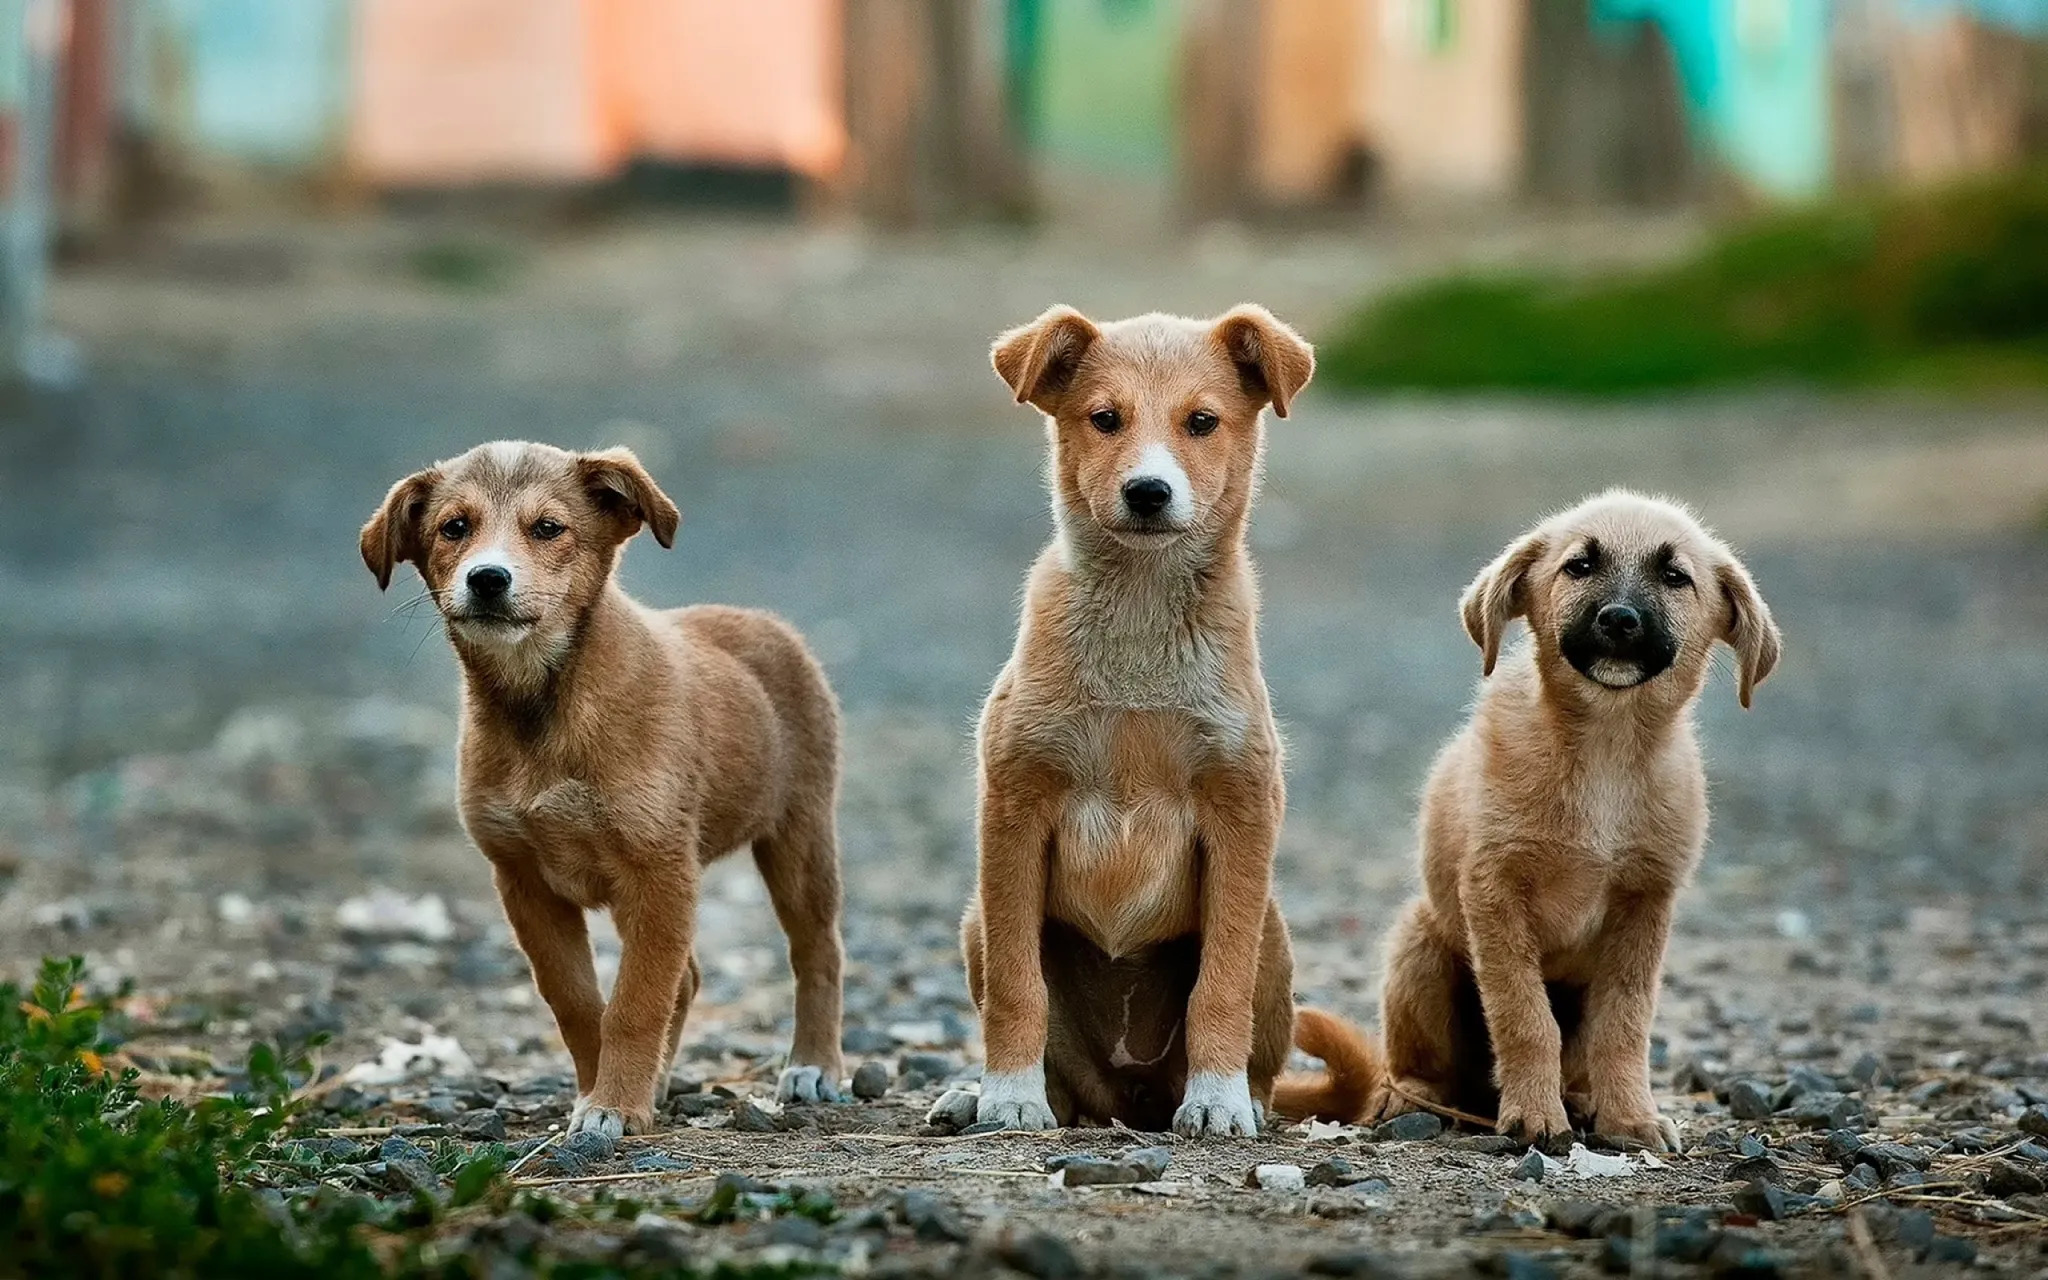
You should see three dogs on the canvas, with no outlines yet.
Draw a polygon
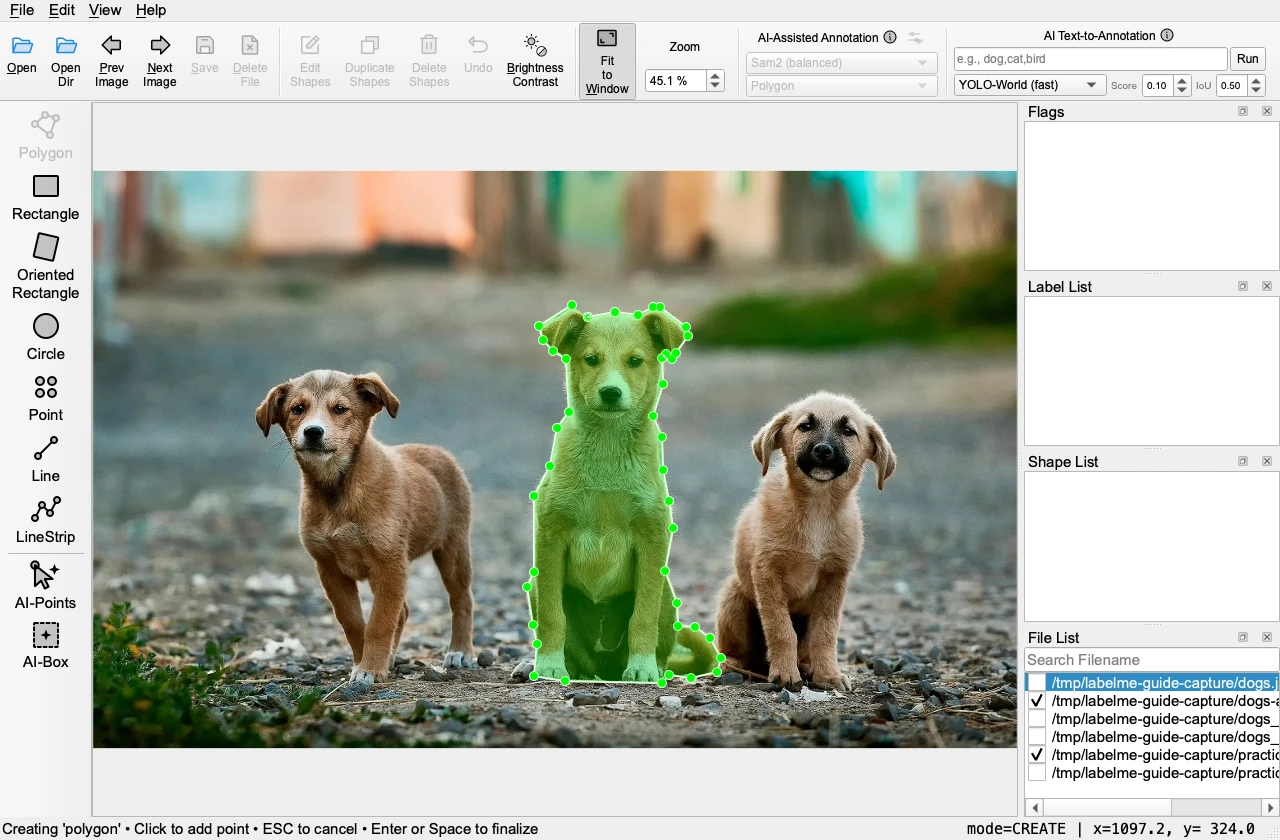
Choose Polygon in the toolbar. Click along the middle dog's outline to place points. Click the first point again to close the polygon.
The label dialog should open. If the polygon is still being drawn, place at least three points and press Enter to finish it. Press Escape to cancel an unfinished shape and start again.
Label the dog
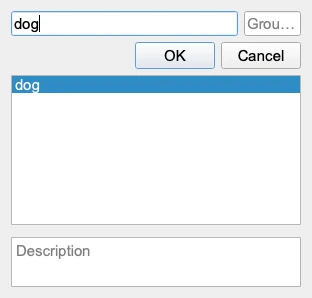
Enter dog in the label dialog and confirm with OK.
The outline should remain on the image, and dog should appear in the Shape List on the right.
Save the annotation
Labelme saves automatically by default. Look for dogs.json beside dogs.jpg in your folder. If you turned off File > Save Automatically, choose Save and save the file as dogs.json there.
The JSON file holds your shapes and labels. Keep it beside the image so Labelme can find the image when you reopen the annotation.
Reopen and check
Choose Open and select dogs.json. Check that the image, your polygon, and the dog label all appear.
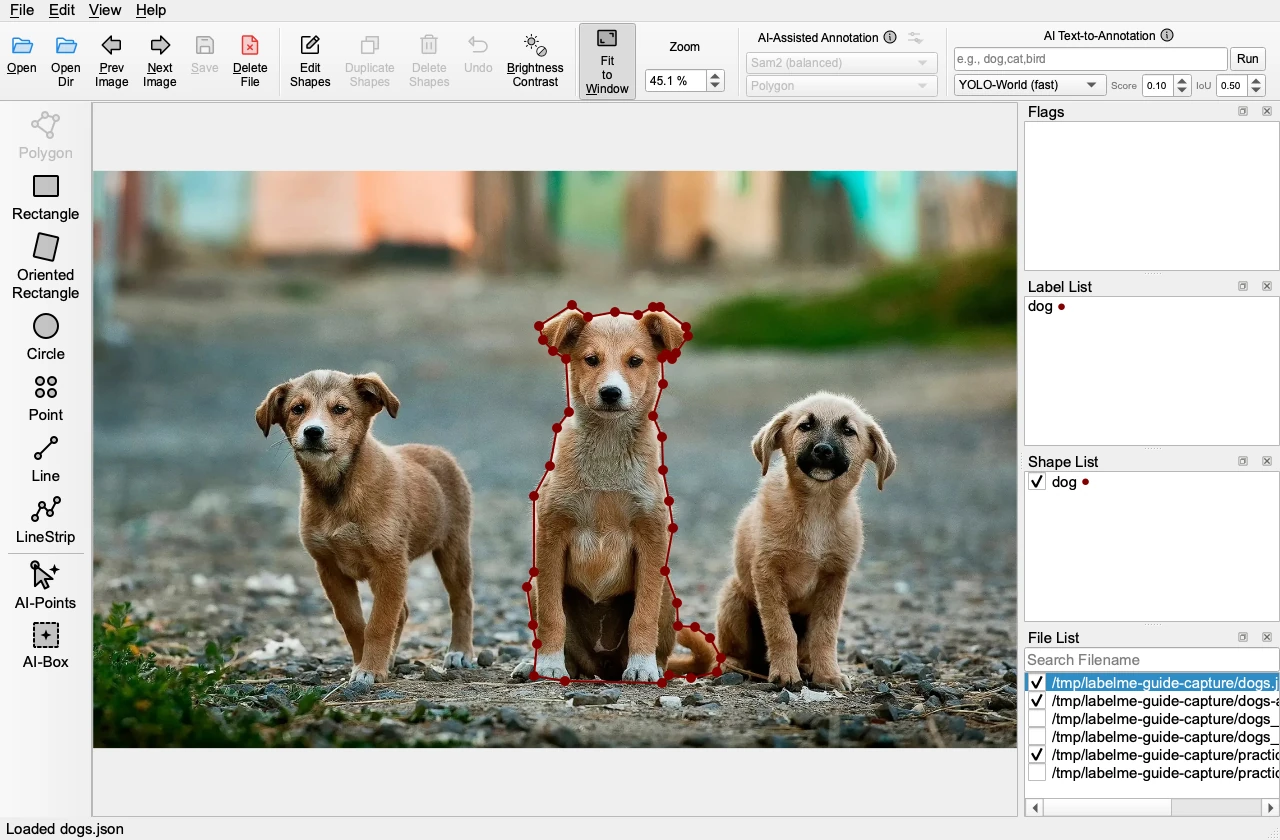
If the outline is missing, check that you opened the JSON file you just saved. If the image cannot be found, put dogs.jpg back beside dogs.json.
You now have a saved annotation you can edit. To compare with the example, download our dogs.json into a separate folder with a copy of dogs.jpg. Keep your own work in its original folder.
Next guide:
2. Edit annotations and work through a folder